Introduction
Cylindrical involute gears are measured on a broad variety of coordinate measuring machines. The quality inspection includes the measurement of profiles, helices and pitch points on the spur or helical gear flanks. Based on the measured points, deviations must be calculated and evaluated according to international standards, e.g. ISO 1328-1:2013. The corresponding evaluation tasks comprise numerical corrections of the measured points due to position deviations and further calculations of elementary toleranced features of the involute flanks. The features are e.g. involute profiles in a transverse plane or helix lines on a cylindrical section with a certain diameter. Each of these features have individual standardized evaluations including optional modifications to calculate the resulting deviations. Based on these deviations, regression elements e.g. individual lines or parabolas or combinations of up to three of these elements are calculated. This allows the assessment of the flanks and their reliefs based on angle, form, total and crowning deviations. The variety of the combinations has increased with the change from DIN 3960:1987 to ISO 1328-1:2013. Due to this the evaluation algorithms are sophisticated.
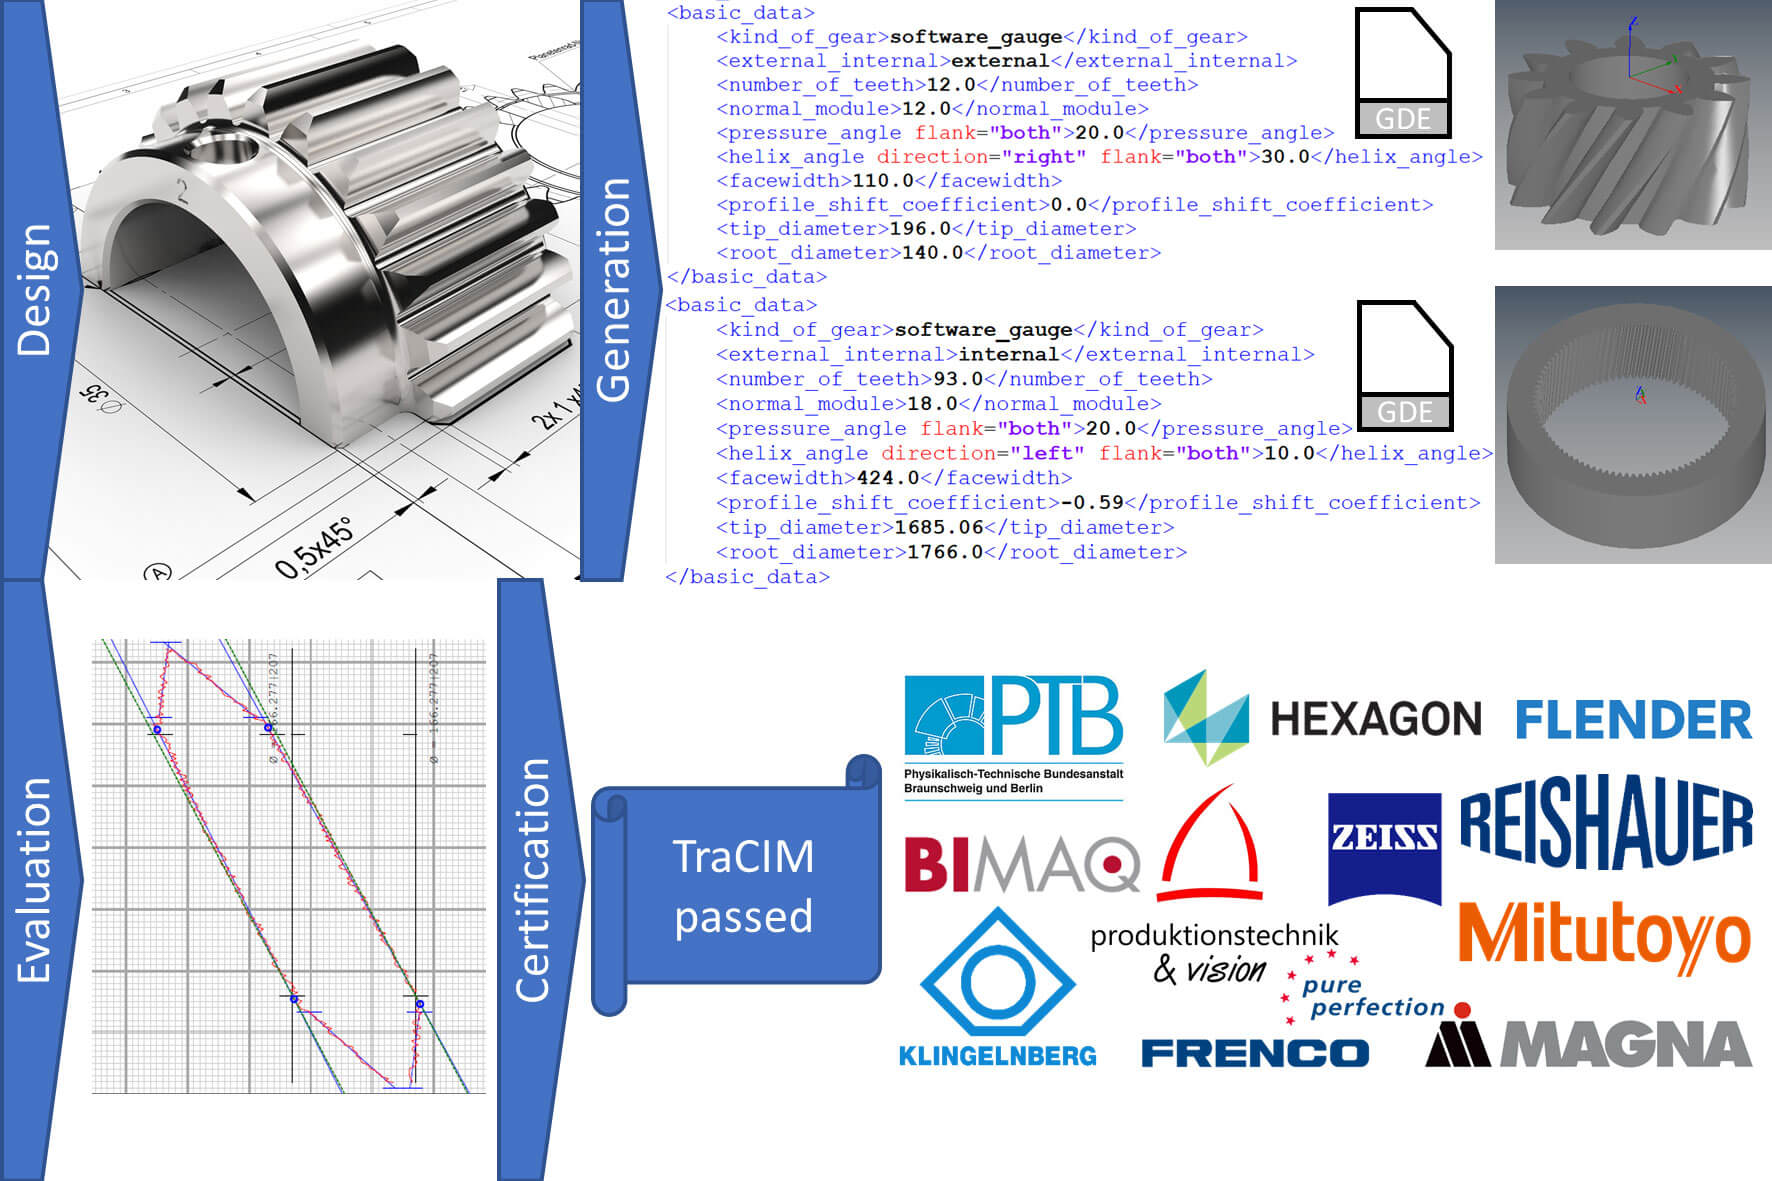
These issues are addressed by a research project located at the Physikalisch-Technische Bundesanstalt (PTB) in Germany funded by the AiF. The aim is the certification of validated evaluation algorithms. The validation for specific versions of the evaluation algorithms shall be based on the generation of artificial stylus center points with common deviations. The reference results will be calculated by agreed and independent reference algorithms developed by the PTB. All artificial points shall be saved in a common format and will be available as additional test within the TraCIM online platform located at the PTB. TraCIM covers the work of the “Traceability for computational-intensive metrology” project which led to an online validation software test service over the last decade. The common format for the software test for cylindrical involute gears is based on the Gear Data Exchange format - GDE defined in VDI/VDE Guideline 2610.
Scope of gear software testing
The gear evaluation software will be validated and certified for the correct use of current standards. In general, the software test will cover the evaluation of:
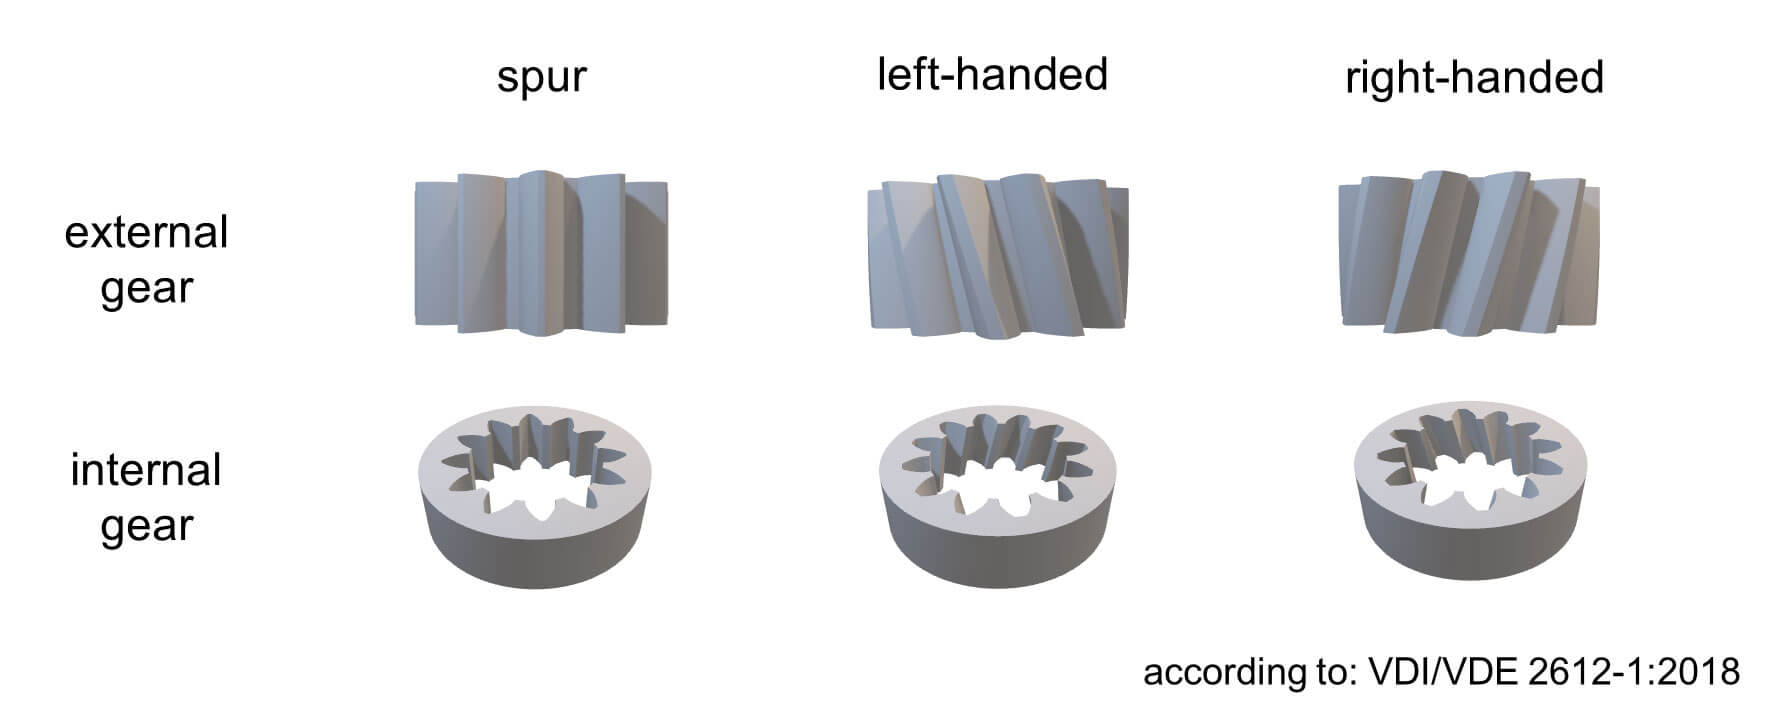
- external and internal gears
- left- or right-handed helical and spur gears
- left and right flanks
- profile and helix line deviations
- pitch deviations
- runout deviation of the gearing via a defined probing sphere diameter
- dimension over two balls via a defined probing sphere diameter
- tooth thickness or space width defined on a certain diameter


